Installation Instructions
RECOMMENDED MAINTENANCE
It is recommended that installations are inspected a minimum of once per year and parts replaced as needed.

USE LOCKING CLIPS
To ensure that connections don’t release accidentally we recommend you use locking clips on all connections.

TUBE CUTTER
For clean, square, chamfer, and burr free cuts always use a HYDROFIT™ Tube Cutter. Never use scissors or other non approved cutting devices. Use of these could result in failure and damage.
HYDROFIT™ - Quick Connect Fittings
Installation Instructions

Step 1. Cut the Tubing
Cut the tube cleanly and squarely. Ensure that the tube has a smooth outside diameter without any burrs, chamfers or score marks prior to inserting it into the fitting. Tubing that has not been cut properly can cause drips and leaks.

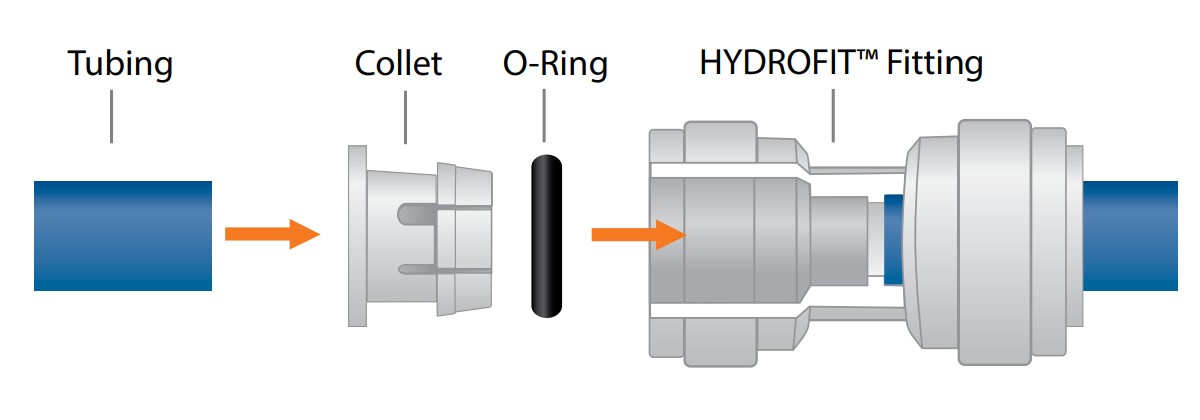
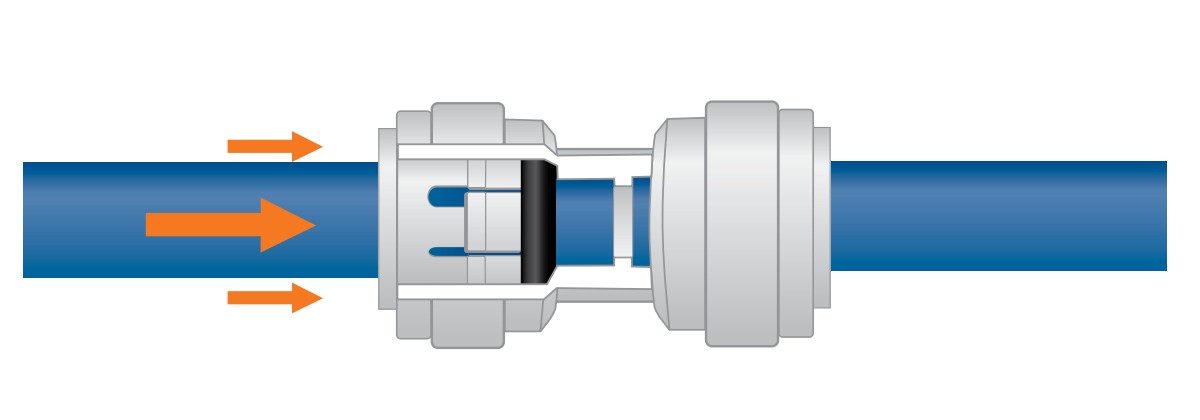
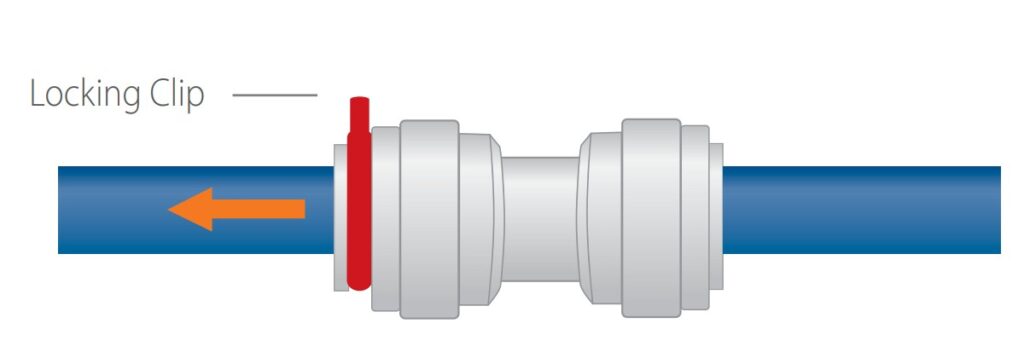
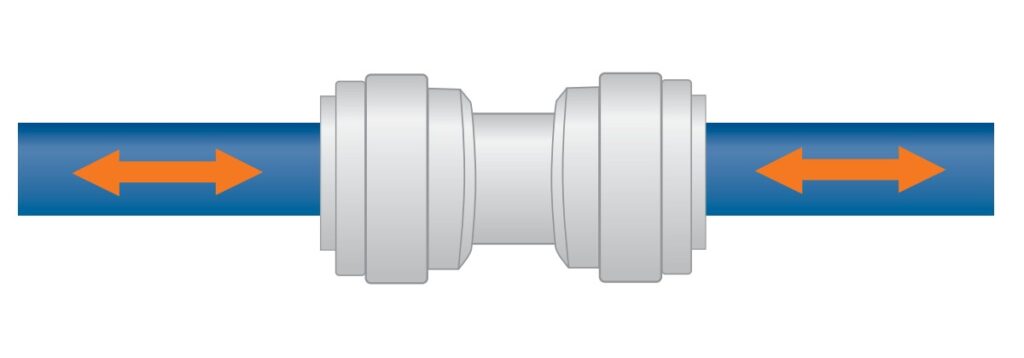
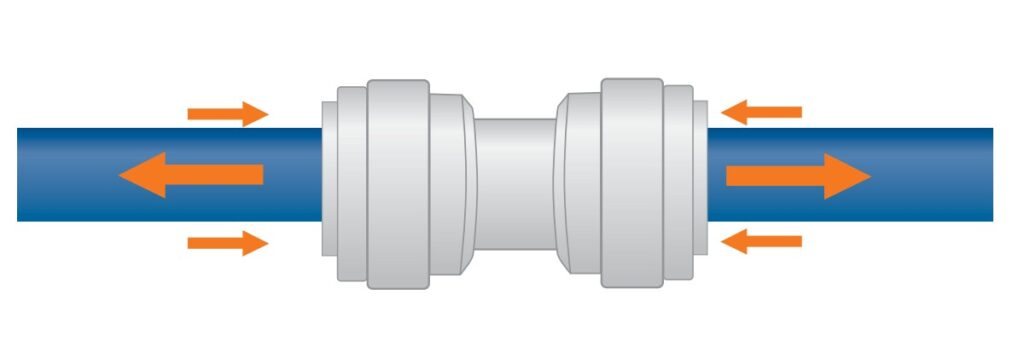
Step 2. Insert Tubing
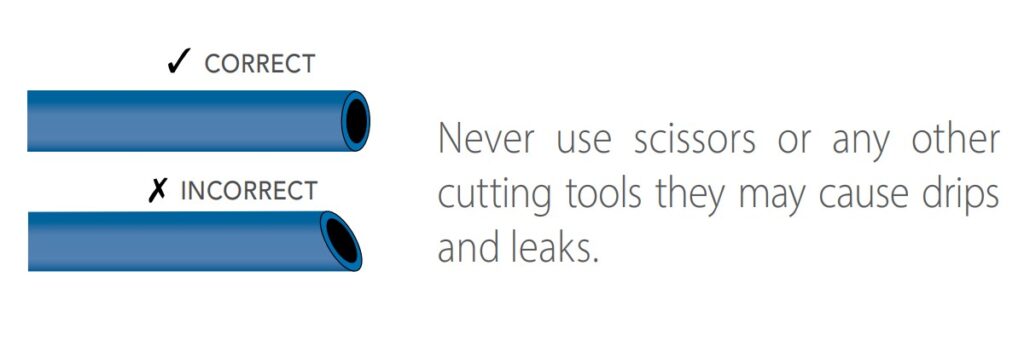
Push the tubing through the collet and o-rings until it bottoms out against the tube stop. The collet holds the tube in place and the o-ring provides a leak resistant seal. If you need to remove the tubing always re-cut before connecting tubing again. Scores on tubing can cause failure.
Step 3. Inspect and Test
Push and pull the tubing toward and away from the fitting to ensure that it has been installed properly. Test and inspect the installation for any leaks.HYDROFIT™ - Quick Connect Fittings
Removal Instructions

Tube Removal
Relieve pressure from the tubing and fitting. Push the collet flange against the fitting body while pulling the tubing away from the fitting to release it.HOW TO USE LOCKING CLIPS


HOW TO USE TUBE CUTTER

